Create a Multisig Wallet
This tutorial serves as a guide to create a multisig substrate wallet.
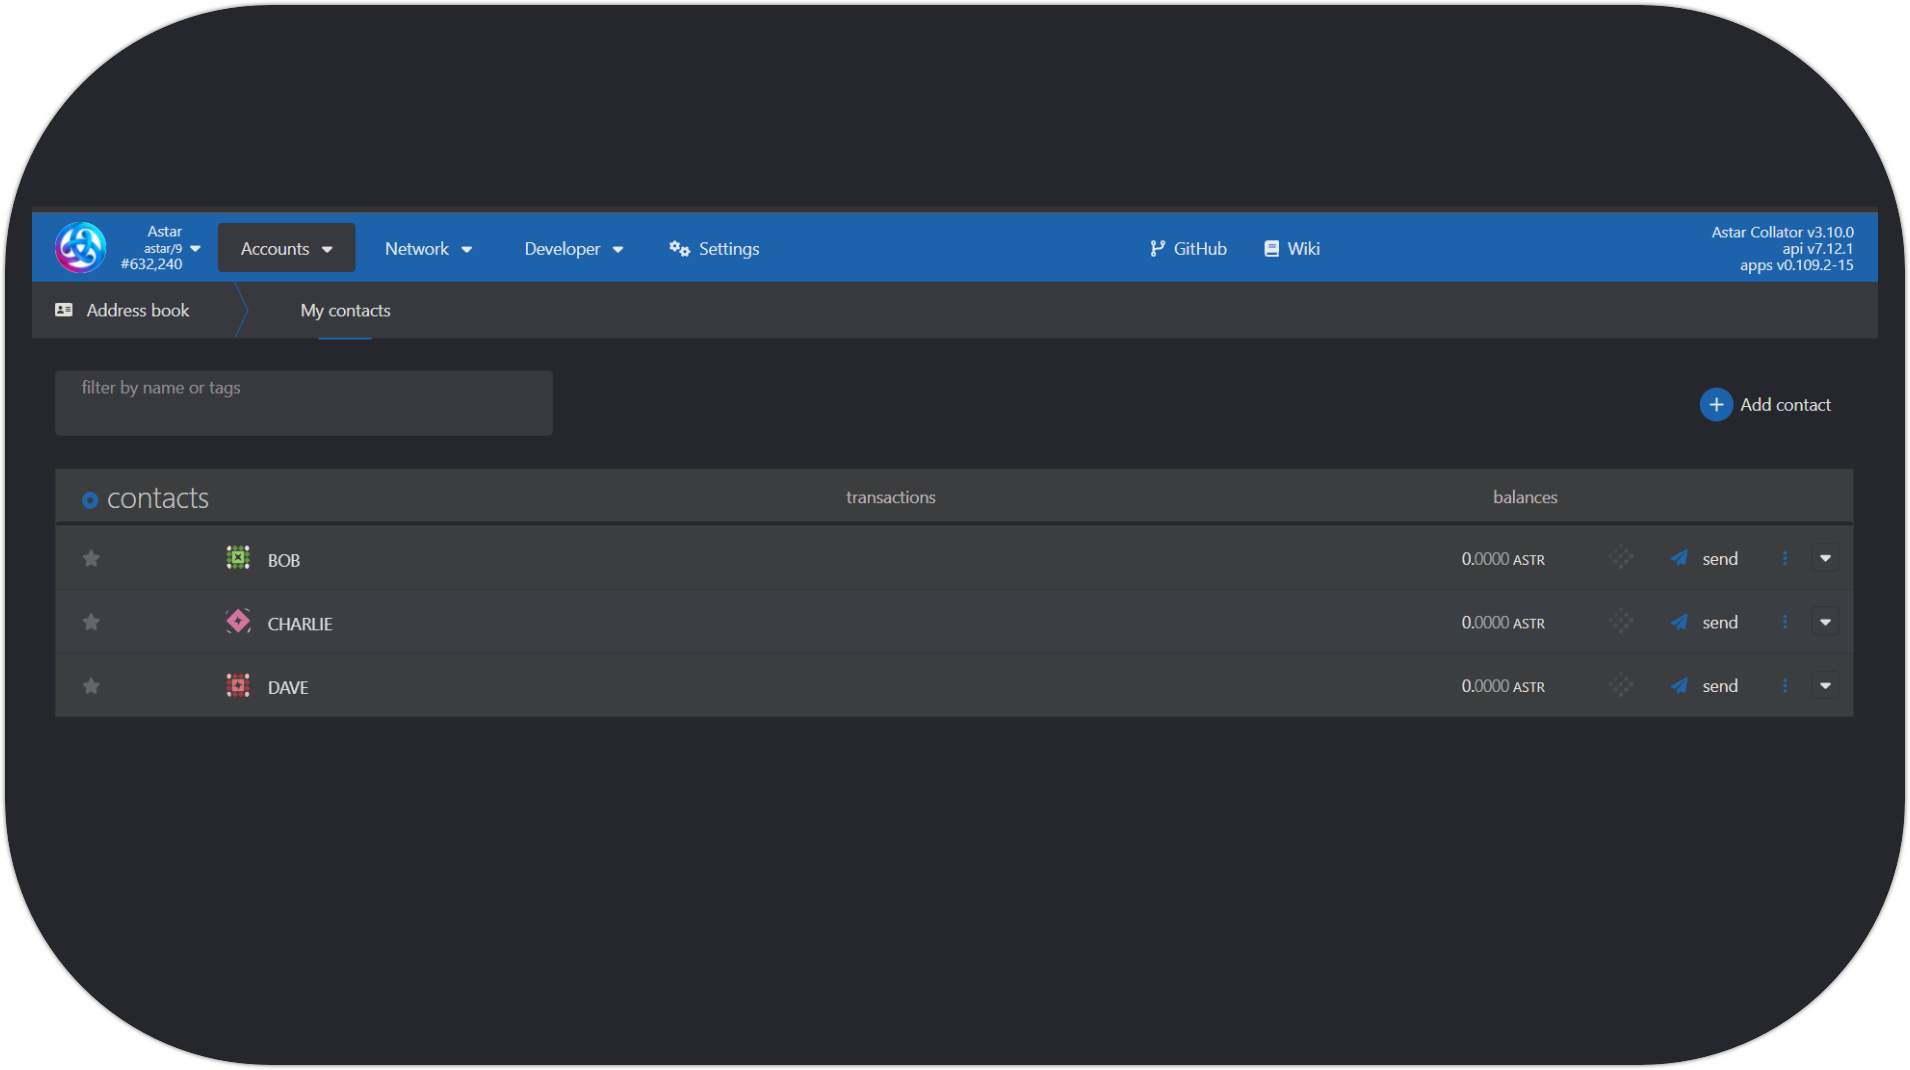
Add contacts
- Go to https://polkadot.js.org/apps/?rpc=wss%3A%2F%2Frpc.astar.network#/accounts;
- Go to Accounts ->
Address Book; - Click
+ Add Contactand add all the contact addresses that you want to include in the multisig wallet; - For example; Bob, Charlie and Dave.
Create new wallet
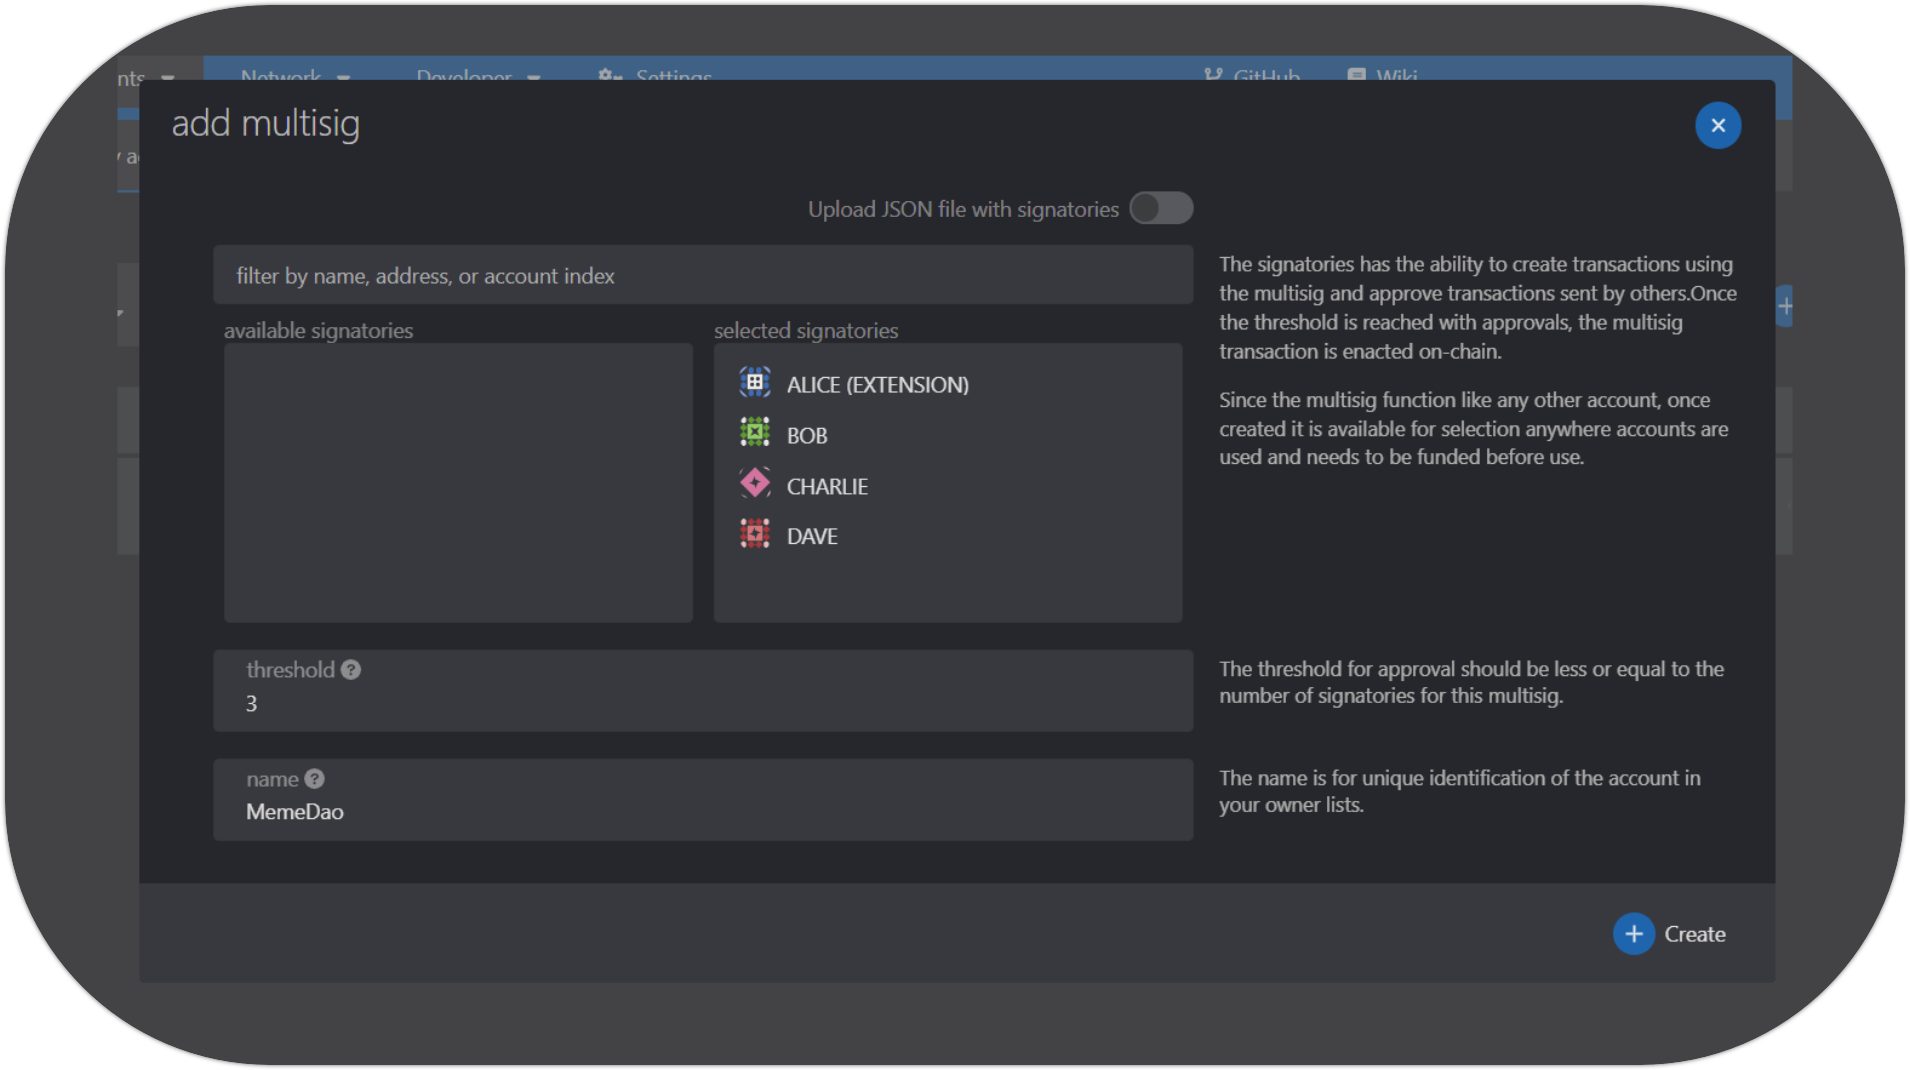
- Go to Accounts ->
+ Multisig; - From the available signatories, select the ones that you want to include in the multisig;
- Add a threshold. A threshold of 2 means a minimum of 2 signatories are required to sign the transactions;
- Give the multisig wallet a name;
- Click
Create.
Test the wallet
- The multisig wallet is created.
- To test the multisig wallet, it is recommended to first use Shibuya testnet. You can get SBY faucet from https://portal.astar.network by connecting your own wallet. See reference here.
- After getting SBY tokens from the faucet, you can send SBY to the multisig address and start playing around.