ChainIDE for Astar Environment Setup
This section provides a detailed explanation of the environment configuration for Astar IDE, which is essential for developing dApp on the Astar blockchain.
1. Create a new Astar Project
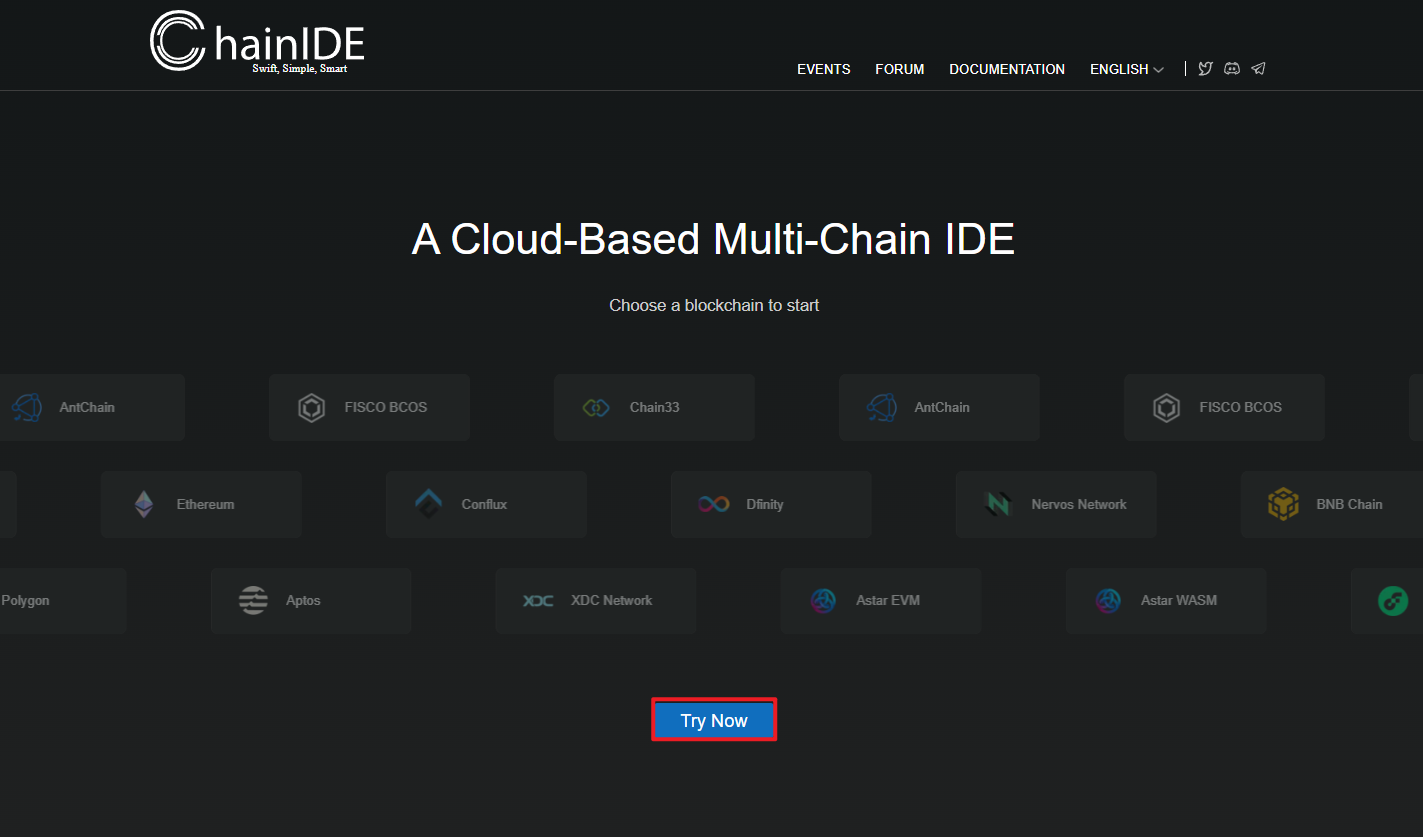
Visit ChainIDE and click the "Try Now" button on the front page as shown in the figure below.
Here, you will choose your login method, which includes two options: GitHub and Guest. In the tutorial, select GitHub login, as later on, the use of the Sandbox requires users to log in with GitHub.
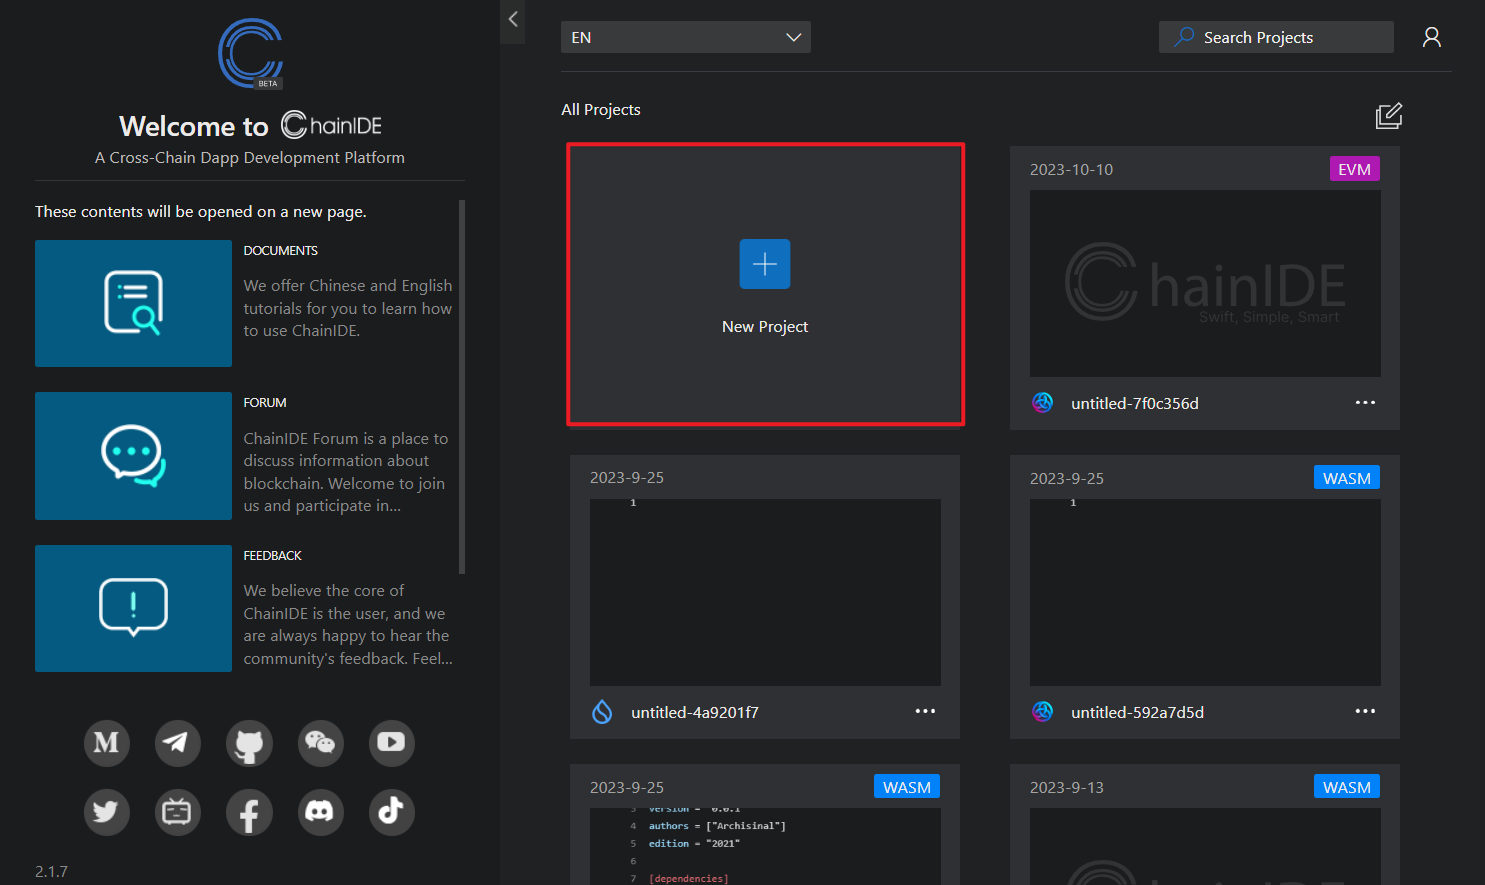
Click the "New Project" button.
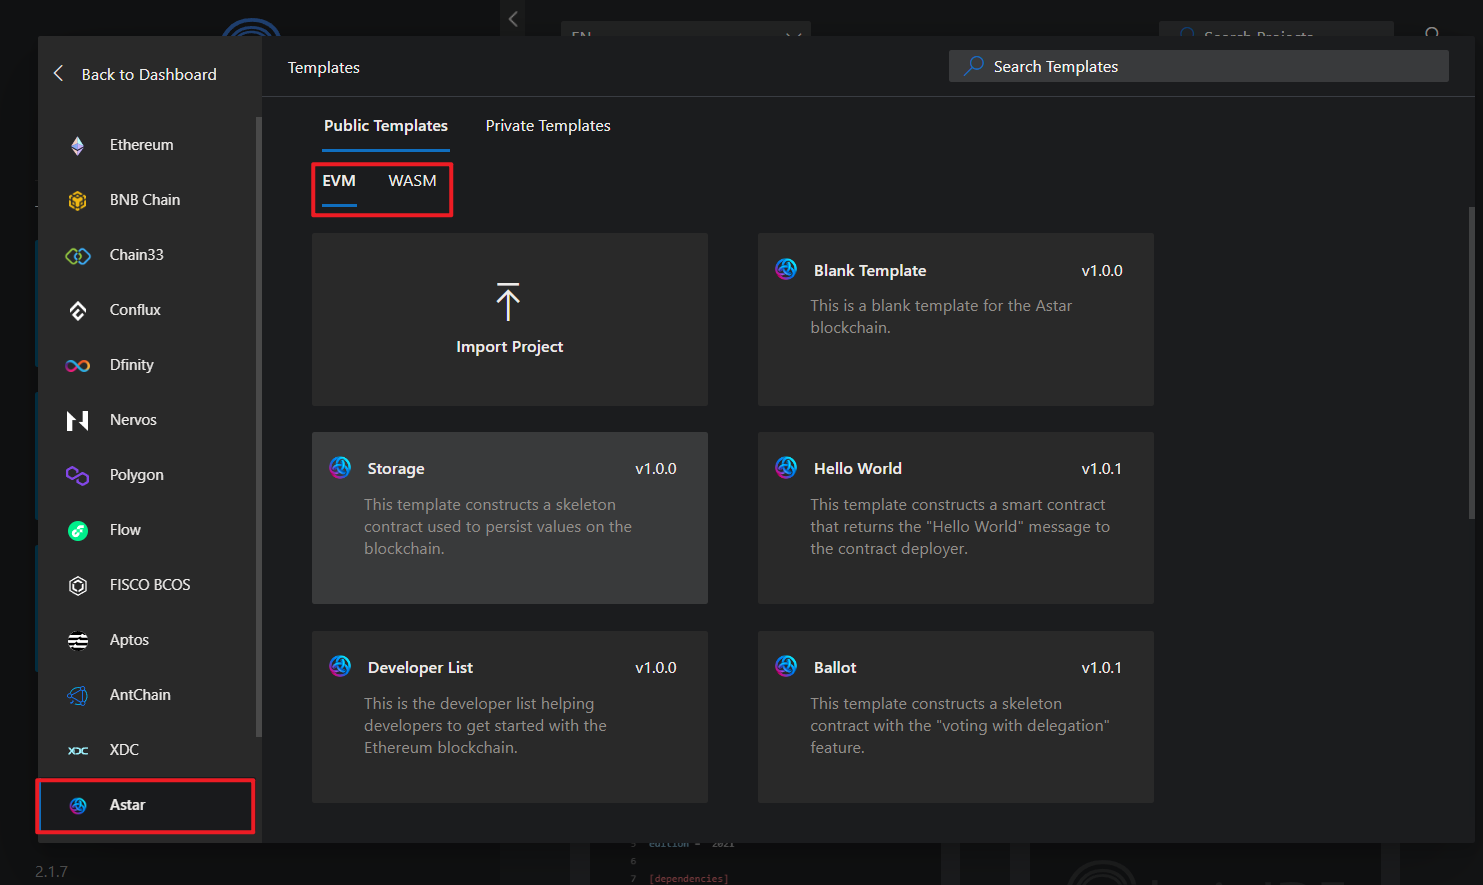
A pop-up window will appear. On the left side of the pop-up, select "Astar," and on the right side, choose the EVM smart contract environment. Then, click to create a project using a template.
2. Configure Wallet
The EVM environment is compatible with the Metamask wallet.
2.1 Wallets Supporting EVM
2.1.1 Metamask (Recommended)
3. Acquiring test tokens
A faucet is the site/place where you can get test tokens. Faucets are available for all Shibuya accounts and empty Astar and Shiden accounts. Use them to make sure your wallet has enough assets to cover the cost of deployment and pay transaction gas
Tutorial on Acquiring Test Tokens: https://docs.astar.network/docs/build/environment/faucet